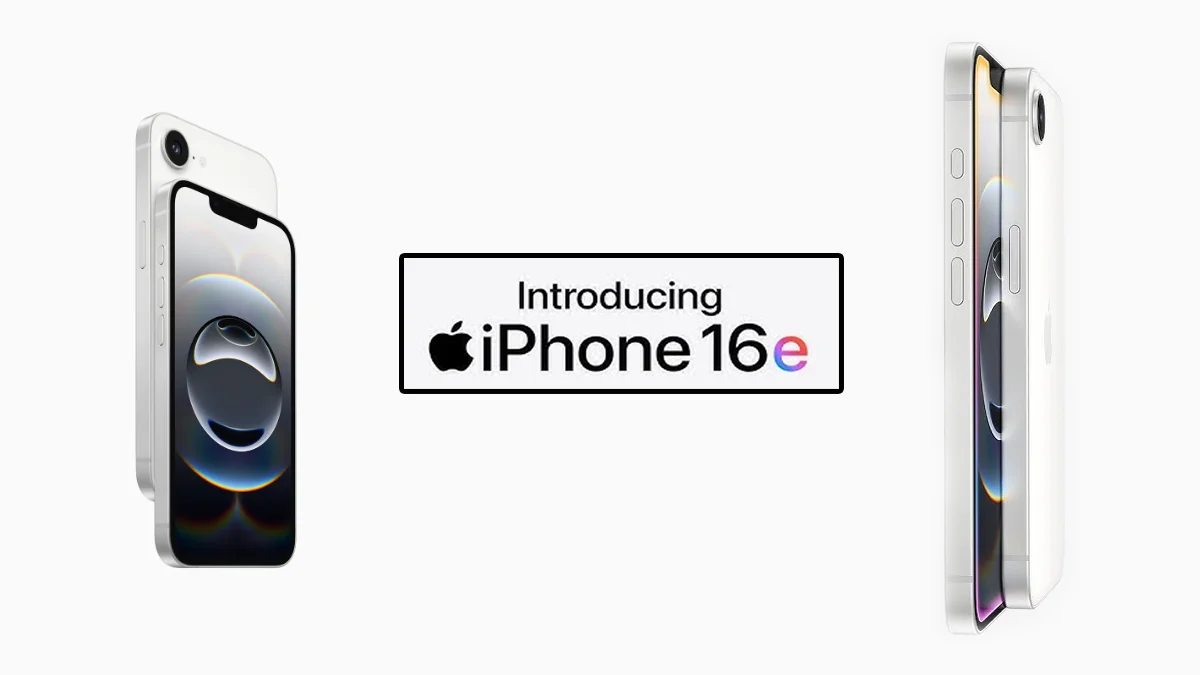
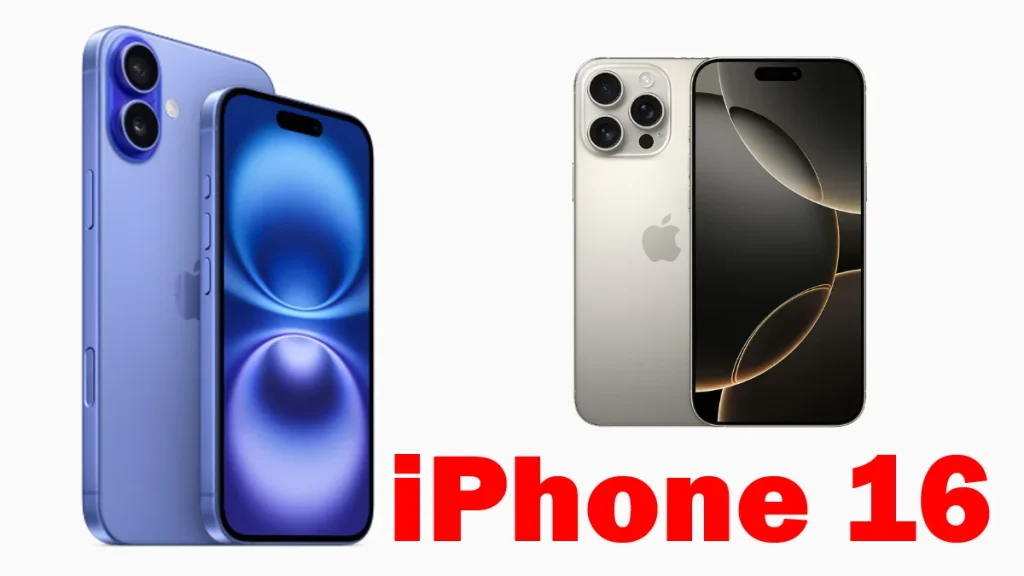
If you’ve just purchased the new iPhone 16, you might wonder how to easily transfer all your apps, photos, and data from your old phone. Thankfully, Apple provides several simple ways to make this switch, ensuring that everything on your old device makes its way onto your shiny new iPhone. Whether upgrading from an older iPhone or switching from an Android phone, there are methods to suit your needs. Let’s break down the best options.
Restoring from iCloud Backup
One of the simplest and quickest ways to move your data is by restoring from an iCloud backup. If you’ve been using iCloud to back up your iPhone, this method will save you much time and effort. During the initial setup of your new iPhone, you’ll be prompted with the option to restore from an iCloud backup.
How to Restore:
- During setup, choose Restore from iCloud Backup.
- Sign in with your Apple account (previously known as Apple ID before iOS 18).
- Select the most recent Backup of your old phone.
If the Backup is a few days old, making a fresh backup before starting the restore process is a good idea. To do this:
- Open the Settings app on your old iPhone.
- Search for iCloud Backup.
- Tap Back Up Now to ensure the latest data is saved to iCloud.
After backing up, return to your new iPhone and select the new Backup. Your iPhone will restore settings, preferences, and apps. The process takes around 15 minutes, but apps and media will continue to download in the background longer.

Apple’s Direct Transfer Option
Apple has a direct transfer feature if you prefer to use something other than iCloud or if your internet connection is slow. This method allows you to transfer everything from your old iPhone to your new one wirelessly or with a cable.
How to Use Direct Transfer:
- Place both phones close to each other.
- During setup, choose the direct transfer option.
- Both phones need to be connected to Wi-Fi, and it’s best to keep them charging to avoid battery issues during the transfer.
You can speed up the transfer using a USB cable, although you might need an adapter if your old iPhone uses a Lightning port. If you’re transferring a lot of data, such as photos or videos, the process could take over an hour, but it’s usually worth it to have everything move seamlessly to your new device.
Transferring Using a Mac or PC
For those who want more control over the transfer process or for anyone with a large amount of data, transferring via a Mac or PC is another excellent option. One advantage of using this method is that it lets you create an encrypted backup, which means your new iPhone will get all your apps and settings and keep you logged into all your accounts.
Steps for Transferring Using a Mac or PC:
- On a Mac:
- Open Finder and connect your old iPhone.
- Create a backup by checking the Encrypt backup box and entering a password.
- On a PC:
- Open iTunes and connect your old iPhone.
- Select Backup and check the Encrypt backup box.
Once the Backup is complete, set up your new iPhone. When prompted, choose to restore from the Backup you just created using Finder (on a Mac) or iTunes (on a PC). You’ll need the password you created during the backup process, so remember it!
This method ensures your new iPhone is a perfect clone of your old one, and best of all, you won’t need to sign back into any apps manually.
Move to iOS: For Android Users.
Are you switching from Android to iPhone? Apple’s Move to iOS app is designed to help make this process as smooth as possible. Available for free on the Google Play Store, this app transfers the most important data from your Android phone to your new iPhone, including contacts, message history, photos, videos, web bookmarks, and more.
How to Use Move to iOS:
- Download the Move to iOS app from the Google Play Store.
- Follow the on-screen instructions on both phones to establish a connection.
- Select the data you want to transfer.
Remember that some data, like music or PDF files stored locally on your Android phone, may not transfer. However, Apple has improved the app over the years, making it faster and more reliable. If both devices are connected to Wi-Fi, the process should be straightforward. If both phones support it, You can connect the devices using a USB-C cable for a quicker transfer.
A Few Things to Consider After Transfer
Once your data is safely transferred to your new iPhone, there are a few things you’ll need to do:
- Sign Into Apps: While some transfer methods (like using a Mac or PC) will keep you signed into apps, others, such as restoring from iCloud, might require you to log back in.
- Check App Settings: Ensure all your app settings have been carried over correctly.
- Clear Cache: After the transfer, it’s a good idea to clear your iPhone’s cache to ensure smooth performance.
Additional Tips for Your New iPhone 16
Now that you’ve successfully transferred everything, it’s time to explore the new features of your iPhone 16. One of the most exciting updates is the Camera Button feature, which makes capturing high-quality images and videos easier.
Also, iOS 18 brings several hidden features and settings that can enhance your experience, from improved battery management to advanced privacy settings. Make sure to take a few minutes to explore the settings on your new phone and customize it to your liking.
Conclusion
Setting up a new iPhone doesn’t have to be stressful. Whether you’re restoring from iCloud, using Apple’s direct transfer option, connecting through a Mac or PC, or switching from Android with Move to iOS, there’s a solution that will work for you. Each method offers a smooth way to ensure your apps, data, and preferences transfer safely.
Now that your new iPhone 16 is up and running, it’s time to dive into its new features and enjoy everything it offers. Happy upgrading!

TechWise.com is your reliable source for the latest tech news, reviews, and simple guides. We’re here to make technology easy to understand for everyone. Whether you’re a big fan of tech or just use it in your daily life, we offer helpful articles, expert advice, and practical tips to keep you updated in the fast-changing world of technology. Stay with us for the newest updates on gadgets and trends in the tech world.